Content Creation
Write and edit your content, without the distractions of images or design.

Now, let’s get to work! You know everything there is to know about web content! Let’s use that knowledge to start creating. Next, you will be entering all of your copy into a simplified WordPress site, which we’ll refer to as your Proto Content site.
Content Creation
Write and edit your content, without the distractions of images or design.
Move over to Staging
Kick up your feet for a bit while Asher takes care of migration!
Content Enhancement/Formatting
Use the modules on the staging site to make your written content visually appealing.
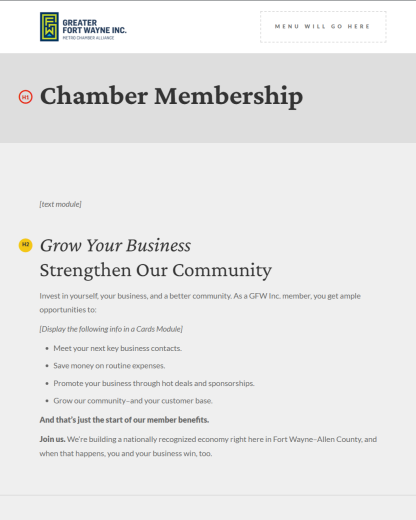
This is what content looks like in Proto, before any images, icons, or design is applied.
Think of Proto as your content workspace. Proto serves as a “prototype” of your new website content. This is where you’ll write, edit, and organize the text for your new website pages.
Use Proto to:
Important:
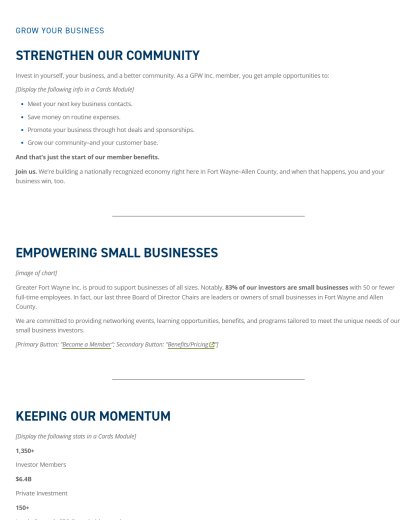
This is what content may look like when it's migrated over to the staging site, before any formatting or enhancement.
Once your content in Proto is complete, Asher will move (migrate) it to the staging version of your new site. The staging site is where we are developing your new site before it is published.
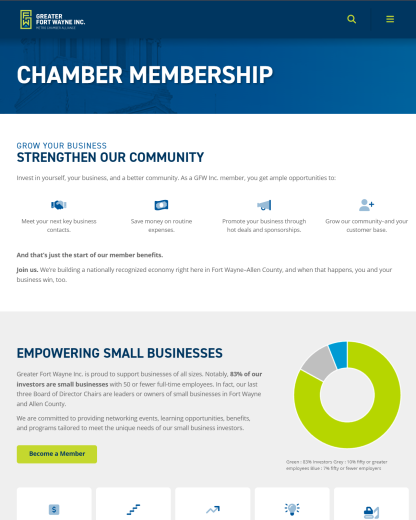
This is showing a finished page on the staging site, after modules have been used to enhance and format the content.
This step happens near the end of the project, after WordPress/Module training, and takes place on the staging site once the modules are developed. After your Proto content has been migrated to the staging site, this is where you will:
You can log into Proto here: caliente.proto-content.com/wp-admin
More details and instructions on how the Proto Site works are built into its Read Me page. Please take the time to read the instructions on that page.
Note: You must be logged into WordPress to view the Edit / Admin view. Asher will provide WordPress credentials.
What’s the difference?
Key content (Home, About, Contact). Usually “evergreen” — while the words on the Page might be revised over time, the Page itself is always in the same place on the site and receiving steady traffic.
Other content (news articles, blog posts, etc). A Post’s importance is usually (but not always) based on recency, with older Posts being pushed down in the order and receiving almost no traffic. Which means Posts are almost always less important than Pages.
The best practices we’ve discussed today apply to all content, whether a Page or a Post. But we expect there’s a difference in how you’ll be handling these content types:
Being edited, rewritten, or at least reviewed before being migrated to the new site. Do that revisions work and enter the final content in Proto!
Being migrated as is, unless your current posts are files such as PDFs (Press Releases for example).
Post content will be migrated automatically near the end of the project, after you tell us where each Post or section should go. We’ll review and fix any issues after the initial migration.
New Posts should follow content workshop guidelines, but updating older Posts isn’t required before launch and can be handled post-launch if desired.
We understand that content can and will continue to change throughout the project, as well as post-launch. We’re not concerned about small text changes within a page. What we watch for is anything that might impact design or development:
These are the items we really need to get locked in during the initial content phase.
You’re all done. Congratulations on your new web knowledge!